
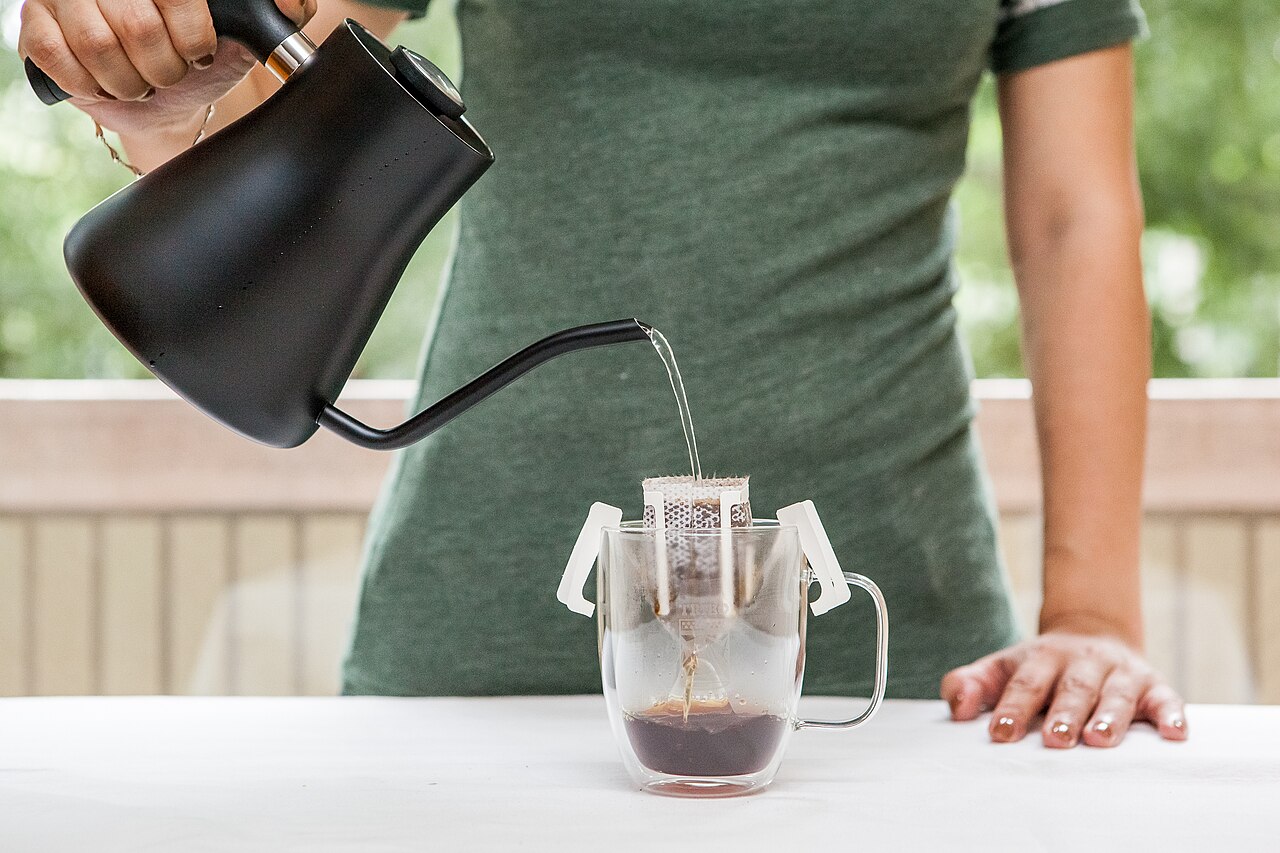
Pour-Over Fundamentals: Bloom, Pour Rate, Total Time — and Why You Don't Need a Gooseneck to Start
Brewing exceptional pour-over coffee doesn't require a counter full of expensive gear, especially not a fancy gooseneck kettle. Master the basics of bloom, pour rate, and total extraction time first, using what you already have.
Forget the elaborate gooseneck kettles and digital scales, at least for a moment. Excellent pour-over coffee isn't about expensive gear; it's about understanding the fundamentals of extraction. The principles behind a balanced, flavorful cup apply whether you're using a Hario V60, a Chemex, or a Kalita Wave, and you don't need to drop hundreds on a kettle to get there. What you need is attention, consistency, and a grasp of three critical steps: the bloom, the pour rate, and the total brew time.
The Bloom: More Than Just Show
The bloom is not just for aesthetics; it's a vital first step that degasses your coffee. Freshly roasted coffee contains carbon dioxide, a byproduct of the roasting process. When hot water hits the grounds, this gas rapidly escapes, causing the coffee bed to swell. Skipping the bloom, or rushing it, means these gases will impede uniform saturation, leading to uneven extraction and a less flavorful cup. It's the difference between a clean, bright acidity and a muddled bitterness.
To execute a proper bloom, pour about twice the weight of your coffee in water (e.g., 30g coffee gets 60g water) evenly over the grounds. Aim for a water temperature between 200-205°F (93-96°C). Let it sit for 30-45 seconds. You'll see the coffee "rise" and bubble as the gases release. This crucial pause allows the coffee particles to fully saturate, preparing them for the main extraction phase. Don't worry if your kettle doesn't have a thin spout; a careful, slow pour from a regular kettle or even a measuring cup can achieve sufficient saturation.
Pour Rate and Agitation: The Heart of Extraction
Once the bloom concludes, the main pour begins. This is where your pour rate and method dictate how evenly water passes through the coffee bed, dissolving those delicious solids. Too fast a pour can channel water through the path of least resistance, leading to under-extracted areas. Too slow, and you risk over-extracting parts of the bed, resulting in bitterness. The goal is even saturation and consistent flow.
Start your main pour in the center, slowly spiraling outwards towards the edge of the coffee bed, then back inwards. Maintain a steady, controlled stream, ensuring all grounds remain submerged and agitated evenly. A good starting point for your coffee-to-water ratio is 1:15 to 1:17. For instance, if you're using 20g of coffee, aim for 300-340g of total water. Your grind size is critical here: typically a medium-fine to medium grind, similar to table salt or slightly coarser, works well. If your pour rate feels too restricted, causing the brew to slow, your grind might be too fine. If water rushes through, it might be too coarse.
Yes, gooseneck kettles offer precise control over the pour, but they are not mandatory. A steady hand and a keen eye are far more valuable. Practice pouring from your regular kettle, focusing on keeping the stream consistent. Observe how the coffee bed reacts. Learning to manage agitation with a less specialized tool forces you to pay closer attention to the coffee itself.
Total Brew Time: A Rhythmic Dance
The total brew time ties everything together. It's the cumulative period from when water first hits the coffee to when the last drop falls. This duration, dictated by your grind size, pour rate, and the brewer's design, directly impacts the flavor profile of your cup. For a typical 20-30g dose of coffee, a total brew time of 2:30 to 4:00 minutes is a common target.
If your brew finishes too quickly (e.g., under 2:30), your coffee will likely taste sour, thin, or underdeveloped – signs of under-extraction. Adjust by grinding finer for your next brew. Conversely, if your brew takes too long (e.g., over 4:00), your cup might be bitter, astringent, or muddy – signs of over-extraction. In this case, grind coarser. Always make small adjustments to your grind size first, as it has the most profound impact on flow rate.
A simple kitchen timer or the stopwatch on your phone is all you need to track this. Consistency is key. Once you find a combination of grind size, pour rate, and total time that yields a delicious cup, try to replicate it. Pay attention to the subtle cues: the scent of the coffee, the color of the stream, the way the bed drains.
Mastering pour-over is a journey of refinement, not acquisition. Begin with the equipment you have. Understand the principles of the bloom, control your pour rate with a steady hand, and learn to interpret your total brew time. Focus on these fundamentals, and you will consistently brew better coffee, proving that the craft lies not in the tool, but in the hands that wield it.
